Saturday, January 14, 2012

Happy New Food Year!

I returned to my parents' house last month with the lingering memories of their teeny tiny 1950's kitchen and all the family members we crammed in it while rendering dish after dish of soul-soothing food.

What I found on arrival was a brand new kitchen, replete with six-burner professional grade gas range, granite counter tops, self-closing drawers, and a huge a-symmetrical island with a second prep sink built-in.

I wasn't exactly surprised. In fact, I'd dragged my sorry self out of bed many a Saturday morning to meet with their designer to get my ideas into the mix.

I'm so proud of them for finishing this. Kudos to my mother who, god love her, is the most notorious pack rat that ever was.
It took a lot for her to throw and give away so much of the past. But in the end, everyone will benefit. And what a workspace...

What you see here are the peels of 15 pounds of potatoes. My mom, my sister, and I fried latkahs for two hours one morning while I was back in preparation for the big family Chanukah party.


Normally when my mom makes latkahs, the smell of fried potatoes and onions is detectable at the end of the street and the scent lingers in our hair and on our clothes for a week. But I have to hand it to them, my mom and dad went all in on their renovation and the overhead fan they installed left nary a trace even twenty minutes after we finished frying.

Using a food processor, shred 5 pounds of russet potatoes and a bag of regular yellow onions.

Transfer to a large bowl, add a couple of eggs, about a half a cup of flour and about 2 tablespoons of baking powder. The baking powder helps them crisp.

Form into palm-sized flat cakes, squeezing out all excess liquid. Fry in hot vegetable oil. Use a lot, but don't cover them completely. Remember to tap down the centre of the patty so that the thickness is dispersed and the latkahs cook evenly.

Turn with caution. Use a spatula and a long fork. When cooked to golden brown on both sides, remove from frying pan and transfer to paper towel covered plate.


I returned to Montreal just in time for Christmas. J's family was extremely generous with me as this was our first Christmas together here. We had a wonderful meal with his mom and the whole day was very merry. The gift giving, of course, was just wonderful. I didn't even get to see my nieces and nephew open the gifts we gave them on account of being so busy opening presents of my own. Two of the highlights were the popcorn hot air popper for J's sister Melissa and the bread making machine from J's grandmother, Nanny. I've only ever made bread the old fashioned way. It takes forever, which is why I hardly ever do it. But fresh bread is just about the most enticing smell ever to be emitted from any kitchen, and so I'm so happy to now be able to just toss the ingredients in, push a few buttons, and let it do its thing. Hurray for robot kitchen helpers! J's mom got me my first food processor. I can't wait to make spanikopita with that thing. Stay tuned...

What I love about the end of the year is all the marvelous best-of lists that come out. So you can imagine my glee when I came across "The Best of America's Test Kitchen: Best Recipes and Reviews 2012"

First to be made was their "Ultimate Banana Bread" recipe. So simple. The tricky part was that it calls for a microwaving step. I've never had a microwave in any of my kitchens, so I had to use the stove instead. In the end I don't think it made that much of a difference.

1 3/4 C all-purpose flour
1 tsp baking soda
1/2 tsp salt
6 large, over-ripe bananas (I freeze mine when they get to this stage, if you do too, only use 5 from the freezer and use one fresher one)
8 Tbsp unsalted butter, melted and cooled
2 large eggs
3/4 C packed light brown sugar
1 tsp vanilla extract
1/5 C walnuts, toasted and chopped coarse (I skipped this)
2 tsp granulated sugar

Preheat oven to 350 degrees with the rack in the middle position. Spray a 8 1/2 inch by 4 1/2 inch loaf pan with vegetable oil spray. Combine first 3 ingredients in a large bowl.
Place 5 peeled bananas in a large bowl and cover with plastic wrap, poking vents in the top for steam. Microwave until bananas are soft with liquid released in the bowl, about 5 minutes. I mashed the bananas and let them simmer on the stove for 5 minutes instead.
Place a fine mesh strainer over a medium size bowl and transfer hot bananas to the strainer to drain out the liquid into the bowl, stirring occasionally. Let it drain for 15 minutes. At the end you should have about 3.4 C of liquid. Transfer banana solids to a bowl.
Pour liquid into a saucepan and cook over medium-high heat for 5 minutes. Liquid should be reduced to 1/4 C at this time. Now pour the reduced liquid back in with the bananas and mash together. I know this sounds silly, but what you've just done is extracted a lot of intense banana flavour, caramelized and intensified the flavour, and returned it to the mix.
Add butter, eggs, sugar, and vanilla to the banana mixture. Stir to combine. Add the wet ingredients to the dry ingredients and stir until just a little white is visible. Transfer to prepared loaf pan. Top with final banana, making two lines of banana slices, 1/4 inch think, arranged in a shingle pattern, one slice layered slightly on top of the one before.
Make sure to leave the middle clear to allow steam to evaporate as the batter bakes and ensure an even rise. Sprinkle the whole top with granulated sugar.
Bake until a toothpick comes out clean, about one hour. Rotate the pan halfway through baking. Cool in pan.

I also plan on using my slow cooker a lot more this winter. The spaghetti and slow cooked meatballs I made recently were so good and the convenience of having food for another two days after is very reassuring as school gets more demanding. And they were so juicy... even David couldn't resist climbing down off the bookshelf to get a closer look.

There are so many things to try. I would really like to expand my repertoire to include some new things on my list of go-to meals. That's what trying new things is all about, after all.

Saturday, December 10, 2011

Like the snow, lavender shortbread has returned

As a great woman once said, it's cookie time.

I'm a student again. That means two things: I spend time in the kitchen when I'm avoiding school work, and I'm too poor to buy gifts for friends and loved ones this holiday season.

My plan instead is to keep my pantry stocked and buy tins of Danish cookies. J eats most of them and then I will refill them with my own homemade goodies.

Lavender shortbread cookies are easy peasy. I discovered them last winter when I came upon a large packet of dried lavender flours at Planet Organic in Edmonton.

Cut up 1 cup of soft unsalted butter. Cream in a large bowl with 1/4 cup white sugar. In another bowl, mix together 1 cup flour, 1/4 cup cornstarch, and 1/4 tsp salt.

Pour dry into wet and stir until combined.
Add 2 Tbsp dried lavender flowers and mix well.
When your cookie dough is ready, turn it out onto a floured surface.

Flour your hands and begin kneading the dough
.
Press your palms and the heels of your hands into the dough and push down and away.


Gently pick up the dough and rotate it 90 degrees.

Keep your hands floured with a dish of extra nearby.

Repeat this process 5 times in total. Kneading cookie
dough is important because it makes sure everything is of the same consistency and that your dough will not crumble to pieces.


Divide the dough in half and shape into two balls. Put one dough ball aside.

Re-flour your surface and put the dough in the middle. As the butter in the dough continues to soften with handling, the dough will become sticker, so lots of extra flour is important.


Flour a large rolling pin and roll out the
dough. It should take about 3 or 4 rolls. Make sure you keep rotating the dough 90 degrees as you roll or you will have a big mess and no cookies.


The dough should be about 1/4" in thickness.


This dough here is very happy. It can't wait to be cookies.


Cut out shapes using cookie cutters. Keep re-rolling up your scraps of dough until you've used up both halves.

The shapes can be placed close together, about 1/2" apart on ungreased baking sheets.

Bake them one sheet at a time in the middle rack of a preheated oven at 350 degrees for 10-15 minutes. They are done when they are browned at the edges.

Look at all the happy cookies. They will make friends and family (and me) very joyful indeed.

These shapes all came in a package from
the dollar store. You can find all kinds of fancy or strange ones. The hearts and stars of david are classic choices, but we liked that our pack also came with a teddy bear, an elephant, and a hippopotamus.

I made lots of all of the shapes. The elephants are pretty rad.

I played with them when I put them on the pan before going in the oven and when they came out a few elephants were walking one after the other like they do in the jungle.

But I'm not in the jungle. I'm in snowy Montreal.
So I will keep making cookies and bringing a little extra warmth to the kitchen with my powerful little oven.


That is a very lonely hippopotamus. Of all the cookies in the batch, there was only one hippopotamus.


Here's the recipe:
1 Cup cool unsalted butter
1/4 Cup sugar
1 Cup flour
1/4 Cup cornstarch
1/4 tsp salt
2 Tbsp dried lavender flowers

Cream butter and sugar in a large bowl.
Measure out lavender and set aside.
Mix other dry ingredients in a bowl.
Add dry ingredients to creamed butter and sugar. Stir until ingredients begin to become incorporated.
Add lavender and stir until well blended.

Turn out onto floured surface. Knead 5 times. Divide dough in half and roll out to 1/4" thickness. Cut into shapes. Place on ungreased cookie sheet and bake at 350 for 10-15 minutes.

Cool on a rack.
Cookies will keep in a sealed container for up to 2 weeks. They get better with age.

Saturday, December 3, 2011

There's No Place Like Ottawa for the Holidays

So I decided kind of last minute to make myself scarce and get out of town for a few days. Montreal is great, but I did a lot of growing up in Ottawa and I'll always love coming back here.

I zipped into the capital for a quick trip to see some old university friends here before heading west for a bit. Of course I'm right in the middle of finals now so some of my work came with me. Everything has to be done in the next ten days so I'm resting up to prepare for the final sprint to the finish line.

Then home to my parents in Edmonton for a while. I'll be back in Montreal by Christmas eve, though, so lots of travel on the horizon for me. I can't wait to try my parents new kitchen.

While I'm in Ottawa I have some bosom friends to connect with and of course one or two restaurants to stop in at. I might find my way to So Good tomorrow around lunchtime. Get myself some tofu pepper salt and wu se chicken. Care to join me?

Checked into the ever-resplendant Chateau Laurier - my hotel of choice in Ottawa, of course... I don't think I will ever get tired of getting to sleep in a big bed inside a castle.

After checking in I went right to the in-room dining menu and sized it up. Eventually I settled on the Senator's Nicoise Salad and a glass of Pinot Grigio.
Herb dusted pan-flashed Ahi tuna over salad nicoise of boiled baby potatoes, kalamata olives, grape tomatoes and hard boiled egg. And soooo many delightful crisp green beans! An excellent start to the weekend.

Later an early evening visit turned into one or two rounds of martinis with a darling old friend. Time catches up to everyone. We can't hide from it, though it may be tempting to try. Our friendship has gone from kool-aid and grape juice at work to cosmos on Sparks Street to now - dry vodka martinis with lots of olives in the hotel lounge. I love this man.

He insisted that I return to my room and order up some dinner. So now I am waiting. I am waiting for french onion soup and a slow roasted prime rib sandwich with au jus dip. I'm getting my first french onion soup of the season. I can't wait for it to warm me up. Have you got a favourite onion soup recipe? Care to share?

Stay tuned as food and ensuing shenanigans make their way onto the pages of the Digest. Hotel eats galore, lots of Canadian wine and beer, I hope, and old friends in the coming days.

I love this town.

Saturday, November 26, 2011

fruit filled french toast


I have been promising J I would make him
some more stuffed french toast for the last couple of weeks. School, work, the ever-present mountain of laundry rising up out of the hamper in the corner... somehow, getting up and making breakfast on the weekends get lost under the covers.

This time I was making good on my promise. And boy was it good...

You can use whatever fruit you like for the filling. If it slices well like bananas or pears then they can go right in, as is. For berries, they should be macerated first.

I just so happened to have some extra cream cheese frosting leftover from cupcakes I made for class earlier in the week. Thanks for the recipe, La. The cream cheese frosting was actually J's idea. And for topping I chopped up craisins and pumpkin seeds and had 2 varieties. The Joy of Cooking strikes again!

Cream Cheese Frosting: (makes 2 cups)
8 oz cold cream cheese
5 Tbsp soft, unsalted butter
2 tsp vanilla
2-4 cups confectioner's sugar (I didn't use as much as Rombauer calls for because I wanted the flavour of the cream cheese to be more present. Plus I don't like having things too sweet. This is going on cupcakes and french toast after all...)

Step one: Beat together vanilla, butter, and
cream cheese.
Step two: Sift in sugar in batches.

Step three: Stir, stir, stir! Or if you are lucky and have an electric mixer or food processor... well then... that's just a lot easier, isn't it?

For french toast: (this is for two, multiply as needed)

4 slices of bread (I like challah or sliced country loaves)
Arrange your bread slices like butterflies and spread 1 Tbsp of cream cheese frosting on each facing slice.

Layer banana slices so that they rest overlapping but still inside the edge of the crust.

How to macerate berries:
Rinse and dry raspberries... or blackberries, or blueberries (you get the idea.)
Place in a bowl.
Mash for 10 seconds or until the once-berries are now kind of in between recognizable fruit and jam.

Squeeze about 2 tsp of juice from a lemon. See this post for a tip on a quick, easy, clean way to juice a lemon without any fancy gadgets.

Sprinkle 1-2 Tbsp of fine or superfine sugar. Mix together and check for balance of sweetness, acidity, and berry flavour.

Let stand briefly before spreading over the already existing layer of cream cheese on one side of the butterflied bread.

In a medium sized flat-bottom dish, prepare a mixture of 3 eggs, salt, cinnamon, and a splash of milk and stir vigorously with a fork.

After closing each sandwich, press firmly together before placing the bread in the egg mixture.

Wait for the bread to soak up the egg before flipping and repeating the soak up time.

Prepare a large non-stick pan, melting about 1 Tbsp of butter over medium heat until sizzling.

Transfer bread from egg dish to hot pan. Fry on both sides until golden and no longer releasing egg when poked with a spatula.

J and I wanted to try 2 different kinds of filling so when it was ready to come out of the pan I quickly cut each one in half and served up combo plates. They were quickly doused in maple syrup and whipped cream and gobbled down with indulgent glee.

Now I ask you, if pizza is a vegetable, is raspberry and cream cheese filled french toast a serving of dairy and of fruit?

Friday, November 11, 2011

falling for fish

Oh, fish. What have I said about fish so far? Why haven't I gotten into cooking it before now?

I used to be scared of it. I have always found it delicious. Sometimes it is embarrassing. As a chef it has been for me a challenge. But it is definitely a food that inspires great conversation. There are certain people who feel very strongly about it. As a kid I remember loving my mom's tuna sandwiches. But the girls at school would tease kids who brought tuna, what with the fish breath that followed throughout the afternoon well into second recess. It's such a delicate thing. Sushi chefs have an almost spiritual relationship with fish.

Here's a great TEDtalk from a very intelligent and well spoken chef and author, Dan Barber. It's all about his take on the factory farming of fish and ways that farmed fish can be done more ethically and sustainably.

My dad makes great fish. Mostly cedar plank s
almon on the barbecue. My mom specializes in fried sole. It's tasty but when she cooks it the whole house smells to high heaven and I end up days later still detecting a redolence that could only have its origins in the crumbly white fish I had eaten earlier that week. Both my parents taught me to always soak the fish in milk before I begin cooking with it. It takes away some of the old fishy smell and texture and revives it before a being rinsed under cold water and dried with paper towel.

I still use that trick and have found that if J spots some nice fish at the store and I don't have time to cook it, I can put it in the freezer, let it thaw in cool water for a while and the milk will do the rest.

Last month J found a lovely piece
of salmon that was large enough for both of us with rice, cooked bok choi, and butterleaf lettuce and mozzarella salad. I did the salmon up in little breaded morsels, flash fried then glazed in a french mustard and herbs sauce. Before that it was those incredible pan seared scallops.

This week J thought his luck was repeating as he found a lovely piece of salmon at the store again. It turns out that what he found was actually steelhead trout. I cooked it crispy this time, instead of gooey, choosing a crus
t of crushed nuts as the source of crunch and fried goodness.

Pistachio-Crusted Steelhead Trout

Prep a portion of fish as above in pan with milk high enough to cover most of the fish.

In another pie plate or deep dish prepare a half a cup of flour with a good sprinkle of kosher salt, and maybe a half tablespoon of lemon pepper. Stir together with a large fork.

After the fish has been left soaking in milk for 30 minutes (or up to 2 hours, covered and refrigerated), rinse under cool water and pat dry.

Place fish in flour bed and press firmly before turning over and repeating.

In another dish crack and beat 1 egg. Use a second if preparing for more than 2 people. Lift fish from flour, shaking off excess, and dip both sides in egg mixture.


This is the moment where I thank the kind men at Akhavan for selling me shelled pistachios so cheaply. I went to the jar on my counter, took out a handful of pistachios, maybe a scant half cup. I didn't want to waste any. Using J's amazing magic bullet I crushed up the pistachios in a buzz or two and dumped them out into another deep dish. Shake the dish back and forth to ensure an even layer of crushed nuts on the bottom of the dish.

Life the fish out of the egg pan and wait for the excess to drip off. Transfer the fish onto the bed of pistachios and press down firmly, ca
reful not to damage the flesh of the fish as you do so. I gathered up all the stray bits of pistachio and crumbled them over the uncoated side and then flipped each piece over to ensure an even coating on both sides.

In a medium nonstick pan heat 2 tablespoons of vegetable oil over medium-high heat. When the oil moves around the whole pan easily and is starting to shimmer, carefully place each piece of fish into the pan. Shuffle the pan back and forth to ensure the oil is encircling the fish.


Watch the sides of each piece in the pan. As the fish begins to cook the flesh changes colour and texture, usually about 5 minutes. When the fish is changed a little more than halfway through, flip it over. Continue cooking for half the time that it took the first side to cook, about 2 min. You may need to turn down the heat at bits of coating from the fish come off and start to burn. Transfer to a plate with doubled up paper towel on bottom.

*Remember to pour off your leftover cooking oil into a dirty dish or jar and dispose of it in the garbage once it is cooled. Never pour cooking oil down the sink.*

Serving suggestions:
Prepare rice before you start working on the fish. I tossed some zucchini sticks in a marinade of maple syrup, ground sage, fresh ground pepper, and olive oil. Other vegetable ideas - grilled stuffed portobello mushrooms, roasted butternut squash, steamed broccoli with cheese sauce, asparagus, Greek salad, corn niblets, mashed sweet potatoes.


Saturday, October 22, 2011

restaurant quality pan seared scallops at home


It all began this afternoon. Actually, it all began about two weeks ago when midterm projects and exams began. That was around the same time that J came down with a wicked cold. I remember because it started the day after Yom Kippur and the day before Thanksgiving. The Jewish holy days always come with lots of traditional foods. Yom Kippur is different because it comes with the denial of food for 25 hours followed by a huge binge. I think this was a bit of a shock to poor J's system. This was his first fast and I was very proud of him for making Yom Kippur meaningful in his own way and in his own time. Le sigh.

Anyway, J started to come down with something the day of his mom's family Thanksgiving and spent half of the day trying to sleep in his old bedroom, avoiding his nieces and nephew. Since then, I've eaten more soup than any span of time in recent memory. I took very good care of J making soups from turkey bones, beans, and squash. My dad always told me, a good soup always starts with a mirepoix and a frying pan.

As you might expect, I eventually caught J's cold and had to continue the soup cycle for another week. J made a weird soup that kind of didn't work. I think he just make the mistake of putting too many things
in it. One night I tried the Chinese take-out counter down the street, Mirama. Great chicken noodle soup. Cheap and cheerful soy sauce chow mein. Got a couple spring rolls for J and the three things came out to $11. Visit their website by clicking on the link for a take out menu and the number to call. Free delivery over $10! Cash only...

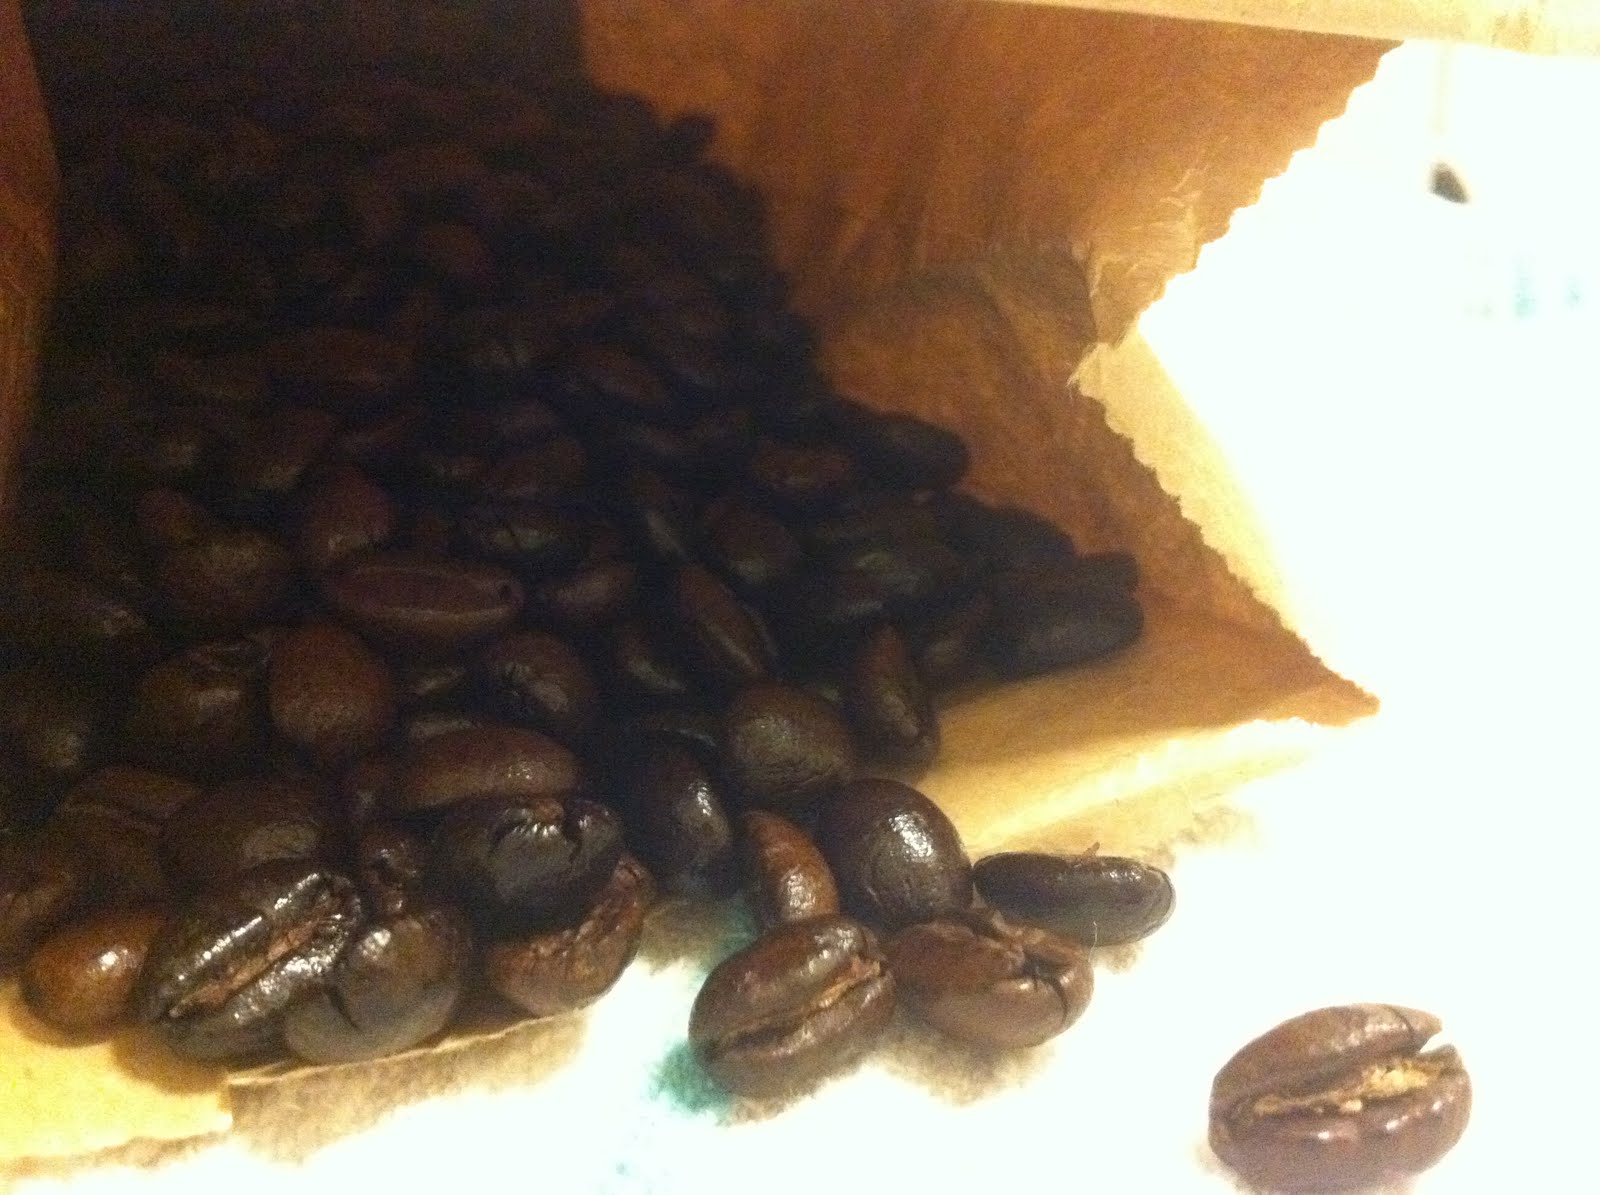
Today was a special day. It was the first day in two weeks that neither of us had an exam or paper and both of us were feeling on the better side of this cold. We walked down to Monkland Village. I am thrilled to say that the bad days are over and the coffee maker that I broke has been replaced with a lovely french press, a grinder, and some freshly roasted Kenyan beans. The coffee came from Le Maitre Boucher, 5652 Ave. Monkland (between Harvard and Oxford), (514) 487-1437. As did a most surprising assortment of goodies.

The shop was very crowded and there were
all kinds of treasures inside. I spotted them out of the corner of my eye. In a little, see-thru plastic container, nestled in an open refrigerated case, there sat protected from the world, ten beautiful scallops from Nova Scotia. I should have taken a photo of them all cozy in the package together, each one a beautiful, clean tasting morsel of the sea.

I had to think of a plan fast so I went for
some strong, crumbly, sweet blue cheese and a large, firm pear. They will end up in some sort of bruleed masterpiece when I figure out how to use my new blow torch. We quickly dropped off the precious ingredients at home and I leafed through old copies of Cook's Illustrated. I remembered a sweet pea puree that I had seen used under some halibut recently. I know I've read articles about how to complete perfect pan-seared scallops at home, if only I could find the issue.

Out the door again, this time to the supermarket for frozen peas and a couple other key ingredients. Cream for our new coffee. The baby bok choi also looked fresh so we picked some up and figured we'd find a way to cook it later.

The pea puree was very easy to make and left one huge but simple component complete and at the ready. The scallops needed little
more than salt, pepper, vegetable oil, and unsalted butter. I wasn't sure of the exact order of what to do when, but I was sure I had read an article about it this summer. I kept looking through the magazines and couldn't find it. That's when I remembered my online membership. I was on the recipe faster than a flash in the pan.

Inside of a minute I had found a cross-referenced article about sauces for scallops and settled on a lemon-herb brown butter sauce. J came into the kitchen when things started to smell good and made himself useful as photographer, sous-chef, and dish boy. The penne aglio olio never would have happened without him.

Next time I make this (which will be at a dinner party near you) I would do a couple of things differently. Rather than boiling them in a high walled frying pan I would blanche and then stir fry the bok choi in ginger and green onion.


I would also add more liquid to the pea puree when I blended it.


We have enough leftovers to turn this into an appetizer for us tomorrow night. If they don't get eaten cold from the fridge as an afternoon snack during the day.


Pistachio ice cream for dessert.

Monday, October 3, 2011

end of summer means peach cake

First, let me just repeat, Cook's Illustrated is the most reliable source of fool proof seasonal recipes and useful tricks.


This recipe comes from their August, 2011 issue number 111.

Let me begin by explaining that I many of the people closest to me suffer from food allergies. I have developed an allergy to sesame seeds. Over the years I thought it was a bizarre thing to be allergic to. My dad and some of my sisters, though, also suffer from what some would consider strange allergies. Growing up we often had to eat certain fruits and vegetables cooked so that everyone could eat them and my mom would only have to prepare food one way.

My dad and sisters have allergic reactions when they eat apples, carrots, peas, pears, peaches, cherries and other things raw rather than cooked. My dad's fruit allergy basically meant that my mom became a master pie-maker. Pie dough is something that challenges me to this day. Over time my sisters seem to have grown out of certain allergies, but J has only begun to develop them in the past year or so.

So when I saw the bushels of peaches for sale at the grocery store shortly after moving in, I jumped at the chance to bake with them so that J could taste them. Though I may have difficulty manipulating pie dough, cake batter is something that I have no problem with.


A tip for juicing lemons:
Slice the lemon in half. The lemon should have its ends pointing to the left and right, not up and down.

Put the cutting board and knife aside and get a small bowl

Insert a fork into the middle of the lemon.

Over the bowl, hold the outside of the lemon firmly in your left hand and the fork in your right and give it a good quarter turn.


Keep rotating the lemon around the fork (or the fork inside the lemon) until all the juice is extracted and it looks like this.


Using the fork, fish out any seeds or large bits of pulp that may have fallen into the bowl.


The juice can then be measured from the bowl as needed. Any extra juice can be put in an airtight container and used in salad dressings, smoothies, tea, dips, or marinades.


Who needs a stand mixer? I have a sweet whisk, two strong arms, and someone to take over when they get tired.


Mmmmm, creamed butter, sugar, brown sugar, vanilla, and eggs.


There were two key elements that made of the Cook's Illustrated recipe so perfect and they came in the first and final steps.

First, the peaches were prepared in two different ways. About 30 slices of peach were sliced and reserved in a separate bowl to macerate with sugar, peach schnapps (the store didn't have any so I used Grand Marnier) and lemon juice.

The rest of the peaches were chopped roughly and then roasted (that's right!) to caramelize, and more importantly concentrate excess juice.

The cake batter was poured out in two stages too.
the first layer went in and then the roasted peaches were added and spread over the batter. After pouring in the remaining batter and spreading that carefully over the peach layer, the reserved peach slices were arranged on top, the smaller ones going in the smaller ring in the centre.

The other trick was to prepare a sprinkle of sugar and almond extract to go over the cake before putting it into the oven.

When the cake came out the fragrance filled the kitchen and then the apartment. I forgot about the dinner on my plate and ran to my camera. There was no way to capture that aroma. I felt like a cartoon levitating towards a visibly wafting sent pulling me to a pie cooling on a window sill.

The cake was a total surprise to J. He's been out in the country working all day. We ate half the cake that night.
It was perfect.

Big morsels of summer sweet peaches, rich and crumbly crumb, and the gooey, crispy sugar and peach coating on the top.

Once again, a tip of the cap to Cook's Illustrated.